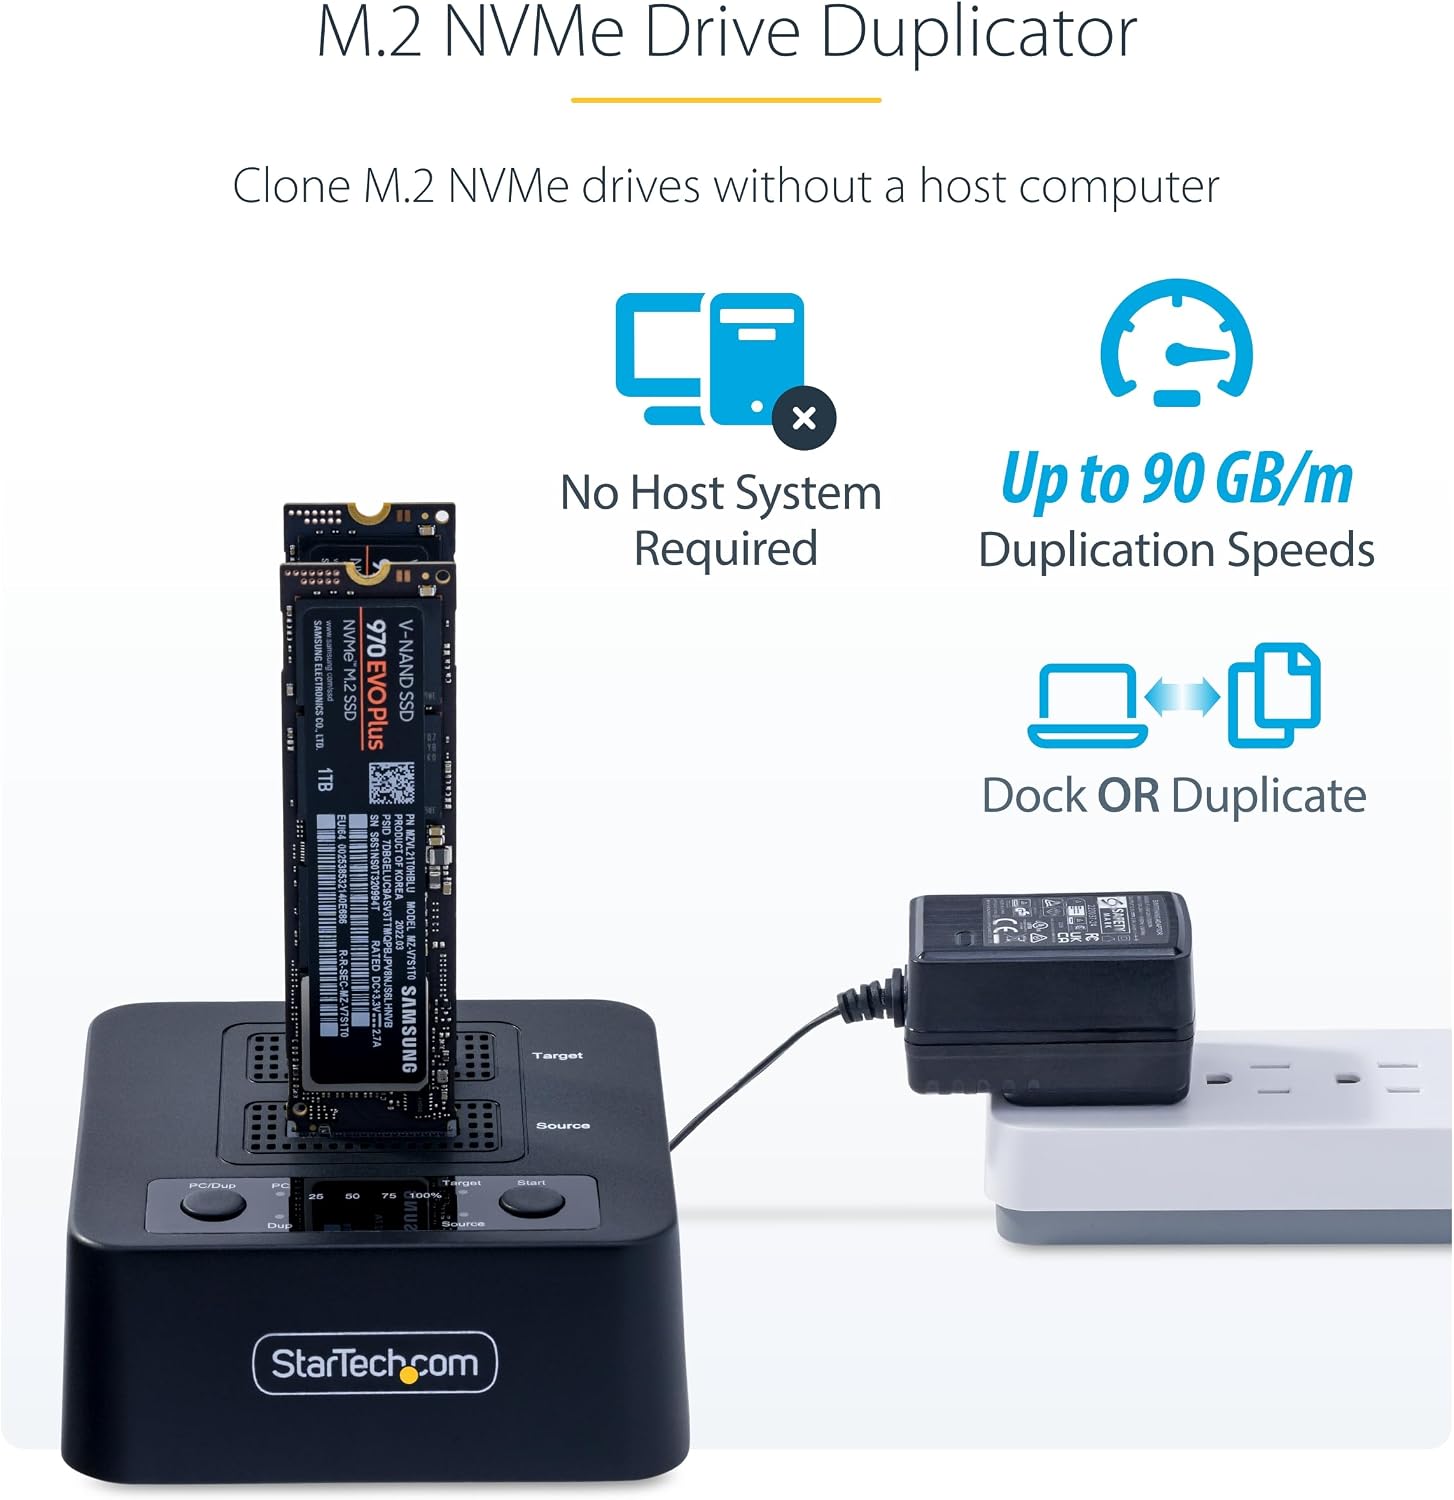
You probably already know what an NVMe drive is — it’s the small, rectangular storage chip that lives directly on your workstation’s motherboard, replacing the spinning hard drives of a decade ago. What you might not have navigated yet is swapping one out while keeping everything intact: your operating system, your custom application settings, your project files, your renderer caches. Cloning is the process of making a perfect, bootable copy of one drive onto another, so that when you pull the old drive and plug in the new one, your workstation wakes up exactly where it left off. If you’re staring down a 512 GB OS drive that’s 90 percent full, upgrading to a new high-end workstation mid-project, or moving a client’s render node to faster storage, this article walks you through every decision point — from choosing your cloning tool to validating the result before you schedule your next render.
| EDITOR'S PICK[StarTech Standalone Dual Bay M.…](https://www.amazon.com/dp/B09CZDCTVT?tag=greenflower20-20) | Mid-tier[GRAUGEAR M.2 NVMe SATA PCIe SSD…](https://www.amazon.com/dp/B0BD4ZWF9M?tag=greenflower20-20) | Budget pickSABRENT USB C NVMe Enclosure &… | |
|---|---|---|---|
| Form Factor | Standalone duplicator | External enclosure | External enclosure |
| Interface | — | USB 3.2 Gen 2 | USB 3.2 Gen 2 |
| Supported Sizes | — | — | 2230-2280 |
| M.2 Key Type | M.2 SATA/NVMe | M Key, B+M Key | — |
| Erase Function | ✓ | — | — |
| Max Speed | — | 10Gbps | 10Gbps |
| Price | $872.99 | $29.99 | $14.99 |
| See on Amazon → | See on Amazon → | See on Amazon → |
Why NVMe Cloning Is Different (and Harder) Than Cloning an Old SATA Drive
Not all storage clones are created equal. Cloning a traditional 2.5-inch SATA SSD onto another SATA SSD is relatively forgiving — both drives speak the same interface language, partition layouts are standardized, and Windows or macOS tends to cooperate. NVMe drives on a PCIe bus introduce friction in three specific places.
Partition layout and secure boot. Modern workstations ship with UEFI firmware and GPT (GUID Partition Table) disk layouts. If your cloning software doesn’t correctly replicate the EFI System Partition — a small hidden partition that tells your machine how to boot — you’ll end up with a drive that contains all your data but refuses to start. Tom’s Hardware’s guide on cloning SSDs specifically flags this as the most common failure point for first-time cloners: the EFI partition gets omitted or duplicated incorrectly, especially when cloning from a smaller drive to a larger one.
M.2 slot availability. To clone drive-to-drive without an intermediate backup, you need a second M.2 slot or an external NVMe enclosure. Most mid-tier and premium workstations — Puget Systems Genesis towers, HP Z8 Fury G5 systems, BOXX APEXX S3 platforms — ship with two or four M.2 slots, so direct cloning is often feasible without additional hardware. Entry-level configurations like a Dell Precision 3680 at its base spec may only have one populated M.2 slot with one free, so check your system’s PCIe lane budget and slot count before you order a new drive.
Driver and chipset entanglement on OS migrations. If you’re cloning an OS drive and moving it to a different machine — say, migrating a freelancer’s workstation setup into a new studio-purchased system — Windows 11 will often hit driver conflicts on first boot. AMD Threadripper and Intel Xeon platforms have different chipset drivers, and a clone that started life on a Lenovo ThinkStation P3 will not always boot cleanly on a Puget Systems build without intervention. We’ll cover the fix.
Choosing Your Cloning Software: The Three Tools Worth Knowing
PCMag’s roundup of disk cloning software (updated for 2025–2026) consistently surfaces three tools that professional users rely on. Here’s the honest tradeoff between them.
Macrium Reflect (Windows) is the tool Puget Systems references in their own storage documentation for Windows-based workstations. It handles GPT/UEFI layouts correctly, lets you clone to a larger drive and resize partitions in the same operation, and produces a bootable result without requiring you to touch the command line. The free tier covers single-machine cloning; the paid Workstation license adds scheduling, image verification, and incremental backups — worth it if you’re managing multiple render nodes. Published user reviews across professional forums consistently describe it as the most reliable option for sector-accurate NVMe-to-NVMe cloning on Windows.
Clonezilla (open source, Linux-based) is the tool facilities managers reach for when they’re imaging a fleet of identical nodes — think a 10-seat render farm where every machine shares the same hardware configuration. It’s block-level, fast, and free, but the interface is command-line-adjacent, and it requires booting from a USB key. Ars Technica’s coverage of storage migration for power users describes Clonezilla as “unambiguously the right tool for identical-hardware fleet deployment, and the wrong tool for someone doing a one-off drive upgrade on deadline.” That tracks. Don’t use it for your first solo migration at 11pm before a client delivery.
Carbon Copy Cloner (macOS) is the equivalent for Apple Silicon or Intel Mac Pro users. It creates bootable clones of macOS system volumes and handles APFS (Apple’s file system) snapshots correctly — something macOS’s own Disk Utility has historically struggled with for full OS clones. If you’re running a Mac Pro or Mac Studio in a mixed-platform post suite, CCC is what operators in long-run editorial workflows consistently recommend.
The Migration Checklist: Before You Pull a Single Screw
By the numbers:
- ~15–45 minutes: typical clone time for a 1 TB NVMe OS drive at 3,500 MB/s read
- ~2–4 hours: expected downtime if you skip pre-validation and hit a boot failure
- 0 minutes: downtime if you validate the clone boots before removing the source drive
Work through this list in order. The sequence matters.
1. Inventory your partitions before you start. Open Disk Management (Windows) or Disk Utility (macOS) and screenshot every partition on your source drive. You’re looking for hidden recovery partitions, the EFI System Partition size, and whether BitLocker is active. If BitLocker is enabled on your OS drive, suspend it — do not disable it, suspend it — before cloning. Tom’s Hardware’s cloning guide documents cases where an active BitLocker clone boots into a recovery loop because the TPM binding references the old drive’s hardware signature.
2. Have your destination drive installed before launching the software. For direct NVMe-to-NVMe cloning, seat the new drive in a second M.2 slot. If your machine only has one slot, use a USB 3.2 Gen 2 external NVMe enclosure — these are widely available as standalone accessories and are worth having in your peripheral kit regardless. Make sure the new drive is detected in Device Manager or Disk Utility and shows as unformatted.
3. Set destination partition sizes before cloning. If you’re upgrading from a 1 TB to a 2 TB drive, most cloning tools default to copying the original partition sizes, leaving the extra terabyte as unallocated space. In Macrium Reflect, use the “Cloned Partition Properties” panel to expand your primary partition to fill the new drive during the clone operation — saves you a resize step afterward.
4. Validate boot before decommissioning the source. After the clone completes, change your UEFI/BIOS boot order to prioritize the new drive. Reboot. If it posts and loads Windows or macOS normally, you’re done — shut down, remove the source drive. If it doesn’t boot, you still have the original to fall back on. This single step eliminates the scenario where a failed migration costs you a half-day of recovery time.
Cross-Machine OS Migrations: When “Same Settings, New Hardware” Breaks
This is where studios with multiple seats run into real trouble. Say you’ve configured a master workstation image — custom render paths, licensed plugins, application preferences, network share mappings — and you want to deploy it across several identical nodes. If the hardware is genuinely identical (same motherboard, same NVMe controller, same GPU), Clonezilla imaging works cleanly. But “close enough” hardware — even the same chassis spec with a different GPU generation — can produce boot issues on Windows 11 because of how the OS binds to hardware identifiers at install time.
Workstation Specialist’s published guidance on drive configuration for professional workstations recommends a middle path for cross-machine migrations: clone the data drives (project volumes, asset libraries, render caches) directly, but perform a fresh OS installation on the target machine and use a tool like Windows Easy Transfer or a third-party settings-sync utility to migrate application preferences and license activations. This costs more upfront time — roughly a half-day per machine — but eliminates the driver-conflict recovery loop that can cost two or three times that.
For Linux-based render nodes (common in VFX pipelines running Houdini or Nuke in headless configurations), Clonezilla block cloning followed by a grub-install and update-grub on the new drive resolves most boot failures. Ars Technica’s Linux storage migration documentation covers this repair procedure in detail.
Project Volume Migration: The Part That Actually Protects Your Deliverables
The OS drive gets most of the attention, but for professional creatives, the higher-stakes migration is usually the project volume — the NVMe or NVMe RAID array where active project files, DPX sequences, ProRes masters, and scratch caches live. A few principles that hold regardless of your specific pipeline:
Never clone a project volume that’s in active use. If Resolve, Nuke, or Houdini has files open on the source drive, the clone will capture those files in a partially-written state. Schedule clones during a natural break — end of day, end of a phase, before a client review milestone.
Verify checksums, not just file counts. A clone can transfer every file and still have silent bit-rot on a handful of frames — corruption that won’t surface until you’re exporting a deliverable. Tools like xxhash (cross-platform, extremely fast) or md5deep let you generate a checksum manifest of the source before cloning and verify the destination matches. Puget Systems’ storage documentation recommends checksum validation as standard practice for any project volume containing camera original or uncompressed media.
Maintain the same drive letter or mount point on the destination. If your source project volume is mapped as D:\Projects on Windows or /mnt/projects on Linux, make sure the destination drive carries the same mapping before you reopen any project files. Resolve, in particular, stores absolute file paths in its database — a changed drive letter will produce an immediate media offline event across every timeline in the project.
If X, Then Y: The Decision Rules
If you’re upgrading the OS drive on a single workstation and the hardware isn’t changing, use Macrium Reflect (Windows) or Carbon Copy Cloner (macOS), clone directly to the new NVMe in a second slot or external enclosure, validate boot before removing the source, and you should be back at your desk in under two hours.
If you’re deploying an identical image across multiple render nodes with genuinely identical hardware, Clonezilla is the right tool and the investment in learning its workflow pays back immediately at scale.
If you’re migrating to a different machine or a different chipset platform, clone your data volumes directly but install the OS fresh on the target and re-migrate settings and licenses separately — the extra half-day is cheaper than the recovery loop.
If you’re migrating a project volume containing camera originals or uncompressed media, run a checksum manifest before and after. No exceptions.
The storage inside a workstation is the one place where a mistake doesn’t just slow you down — it can erase work that cannot be recreated. The process above isn’t complicated once you’ve done it once, and the first time you restore a botched migration in under ten minutes because you validated the clone before pulling the source drive, it becomes reflex. That’s the goal: make this invisible so the billable hours stay intact.