If you’ve just dropped a high-end graphics card — say, an NVIDIA RTX 4000 Ada or an AMD Radeon Pro W7900 — into a workstation tower, you may have noticed that the card doesn’t sit perfectly level. It droops slightly at the far end, pulled down by its own weight. That droop is called GPU sag, and it’s not cosmetic. Over months or years, the mechanical stress it places on the PCIe slot (the connector on your motherboard that the card plugs into) can cause intermittent electrical contact issues, bent brackets, and in worst-case scenarios, damaged connector pins. This article walks through what GPU sag actually does to a workstation over time, which bracket and support accessories are worth buying, and how to think about thermal (heat) management accessories that extend GPU lifespan. We’ll show the math where it matters and end with clear decision rules.
Why GPU Sag Is a Real Engineering Problem, Not Just Aesthetics
The cards that power professional creative work are not light. The NVIDIA RTX 4090 — the consumer-adjacent card that many VFX artists and motion designers use as a cost-effective alternative to Quadro-tier hardware — weighs approximately 2.2 kg (4.8 lbs) according to NVIDIA’s published specifications. The RTX 4000 Ada Generation SFF and full-height Ada cards used in ISV-certified workstation configurations weigh between 600g and over 1,000g depending on cooler design. All of that mass is cantilevered off a single PCIe x16 slot.
Ars Technica’s reporting on the RTX 4090 launch noted that the card’s sheer size prompted immediate community concern about long-term slot integrity — a concern that extended directly to professional workstation configurations where cards sit in chassis for years, not months. The PCIe x16 slot is rated for repeated insertion and removal cycles, but it was not designed to bear sustained lateral bending load from a 2+ kg object hanging off one side. Puget Systems, in their published GPU sag analysis on pugetsystems.com, documented measurable deflection angles in triple-slot cards without support, and noted that the concern scales with both card weight and chassis orientation — a tower case (vertical motherboard) is far more susceptible than a rack-mount unit where the board lies flat.
The failure mode is gradual: sag causes microscopic flex in the PCIe connector contacts over thermal cycles (the card heats up and cools down, expanding and contracting slightly with every work session). Tom’s Hardware’s coverage of GPU support brackets consistently frames this as a slow-burn risk rather than an immediate danger — which is exactly why it gets ignored until something fails.
The GPU Sag Bracket Market: What You’re Actually Buying
The support accessory category breaks into three functional approaches.
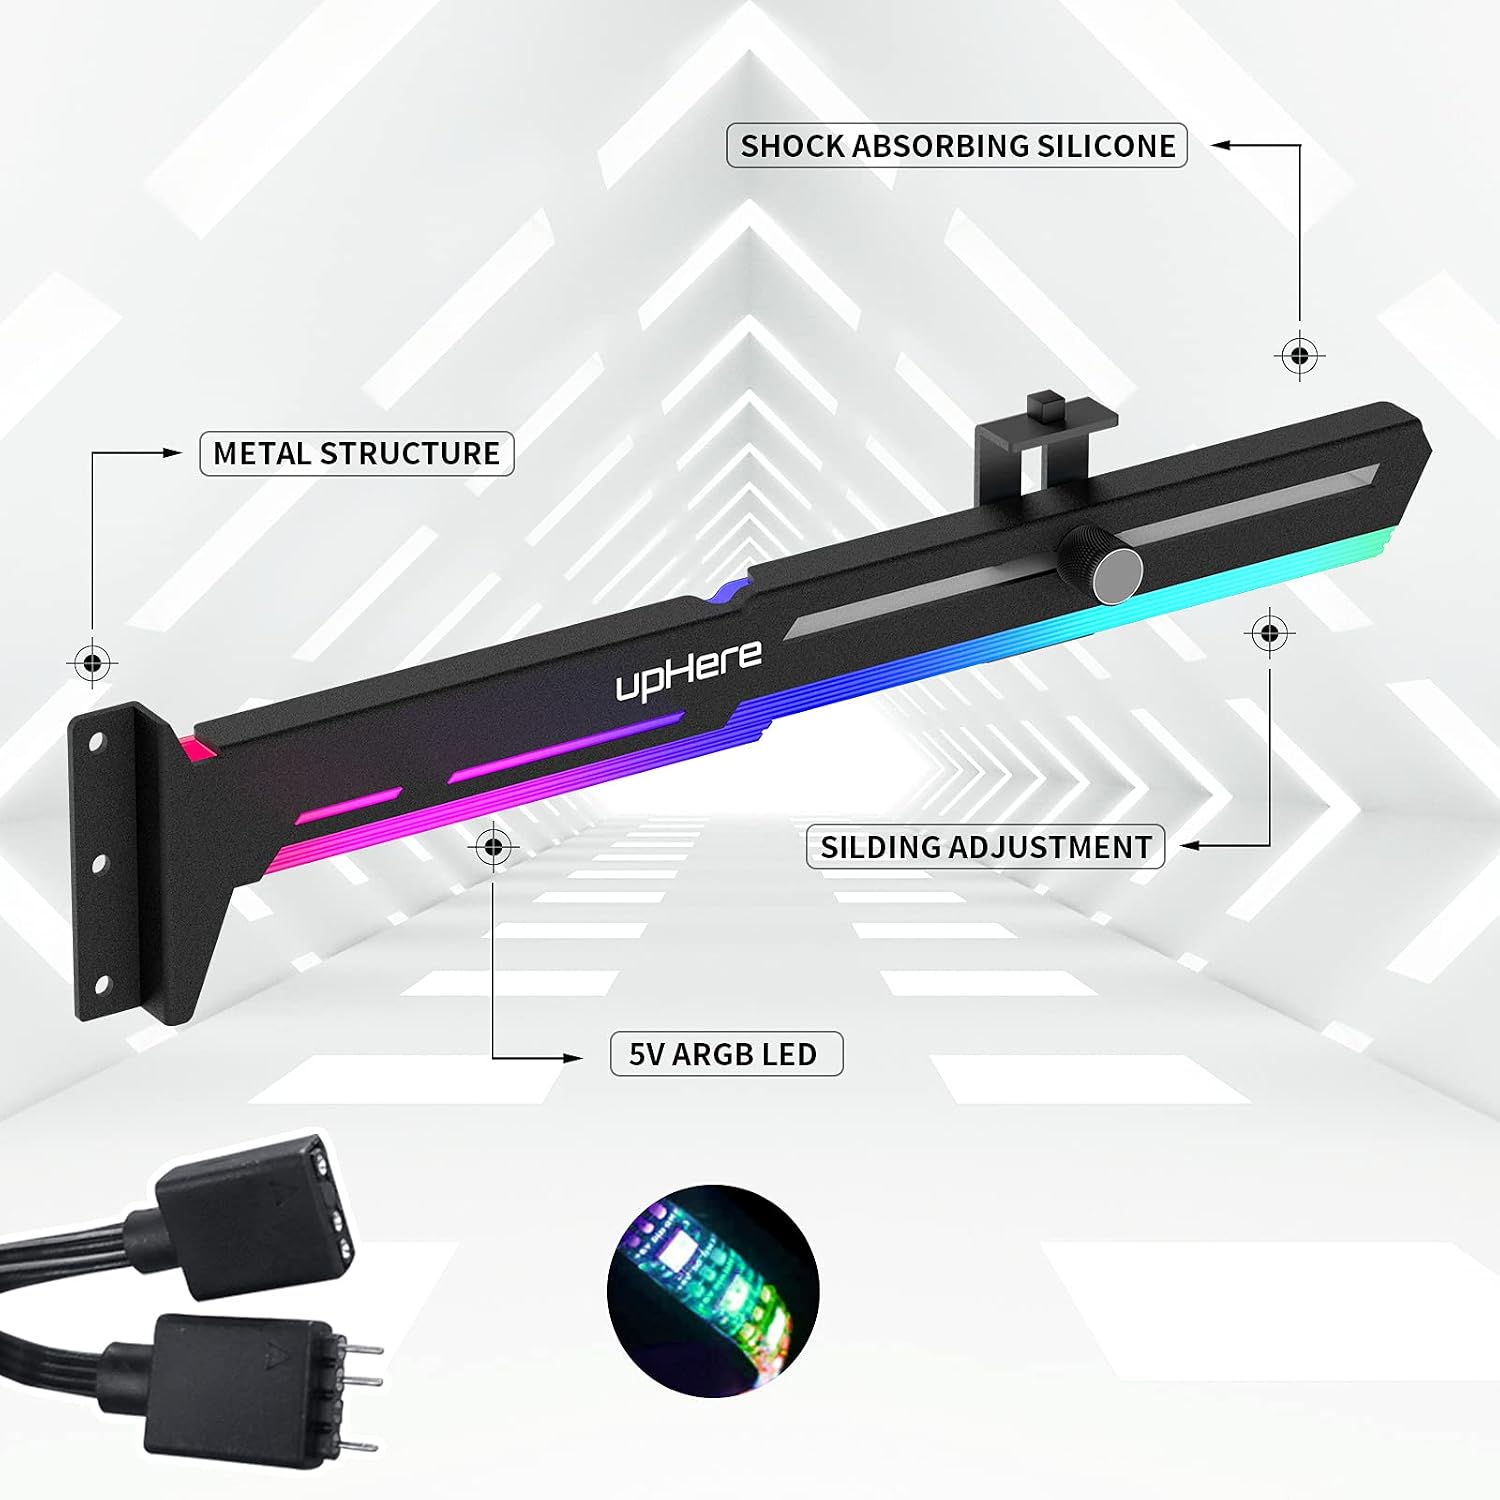
Adjustable support brackets are vertical posts or arms that mount to a case standoff or drive bay and cradle the GPU’s PCIe bracket end or heatsink shroud. These are the most common form factor. They provide mechanical lift from below, reducing the bending moment on the slot. Brands like Lian Li, ASIAHORSE, and several white-label manufacturers sell variants in this space. Prices run $15–$45 depending on adjustability range and build material. Tom’s Hardware’s roundup of best GPU support brackets notes that the key differentiator between budget and mid-tier options is the adjustment mechanism: cheap variants use friction-fit height adjustment that drifts over time, while better options use threaded or ratcheted locking systems.
Case-integrated support rails are increasingly common in purpose-built workstation chassis from vendors like Fractal Design and Lian Li, where a horizontal rail or secondary bracket point is built into the chassis. If you’re speccing a new BOXX APEXX S3 or a Puget Systems Genesis, ask your configurator whether the chassis ships with integrated GPU retention — several do as of mid-2026, particularly in configurations with dual or triple-slot cards.
Riser cable + vertical GPU mounts rotate the card 90 degrees so it faces outward through a side panel rather than sitting horizontal. This eliminates sag mechanically because the card’s weight is now supported along its length rather than cantilevered. However, PCMag’s coverage of riser cables notes a consistent tradeoff: PCIe riser cables — particularly lower-quality ones — can introduce signal degradation at PCIe 4.0 and 5.0 speeds. For a workstation running NVLink, multiple GPUs, or high-bandwidth compute tasks, this is a meaningful risk. Vertical mounting is visually compelling and structurally sound, but only with a quality riser (Linkup and Thermaltake’s certified risers are frequently cited in aggregated reviews) and at the cost of additional setup complexity.
By the Numbers
| Approach | Cost Range | Sag Elimination | PCIe Signal Risk | Install Complexity |
|---|---|---|---|---|
| Adjustable support bracket | $15–$45 | Partial to full | None | Low (10 min) |
| Case-integrated rail | $0 (chassis feature) | Full | None | None |
| Vertical riser mount | $40–$120 | Full | Low–moderate | Medium–high |
Thermal Management Accessories: Where the Real Performance and Longevity Gains Live
Bracket support protects the card structurally. Thermal management protects it electrically and chemically — and this is the more consequential category for workstations running sustained loads.
A GPU running a 4-hour render or a fluid simulation isn’t idling. It’s sustained at 85–95°C junction temperatures, and the cooler design that ships from the factory is tuned for the average consumer use case, not the professional sustained-load case. The delta between peak and average load on a gaming card versus a workstation render node is substantial. Puget Systems’ published thermal testing methodology (documented extensively on pugetsystems.com) consistently shows that out-of-box cooling on consumer-adjacent cards throttles under sustained professional workloads — the card reduces its clock speed to stay within thermal limits, and your render times suffer.
Case airflow accessories are the first intervention. These include high-static-pressure case fans (Noctua, be quiet!, and Arctic are the consistently recommended brands across aggregated reviews) mounted to direct airflow across GPU heatsinks, and fan hub controllers that let you tune curves without entering BIOS on every adjustment. The math is straightforward: a GPU cooler exhausts heat into the case; if that heat isn’t moved out of the case efficiently, inlet temperatures rise and cooler effectiveness drops. A $30–$60 investment in case fan optimization can reduce GPU steady-state temperatures by 5–10°C according to thermal benchmarking published by Tom’s Hardware across multiple GPU generations.
Aftermarket GPU coolers are a more aggressive intervention. For cards that are no longer under warranty — or for workstation operators building custom render nodes — replacing the factory blower or open-air cooler with an aftermarket heatsink-and-fan assembly can dramatically improve sustained thermal performance. Arctic’s Accelero series and Thermal Grizzly’s direct-die products are frequently cited in aggregated community reviews and professional builder forums as the most commonly used options. This is not a beginner modification: it requires disassembling the GPU, voiding remaining warranty, and correctly applying thermal interface material to the die and VRAM modules.
Thermal pads for VRAM and VRM represent a lower-risk intervention. Factory thermal pads — the soft, compressible material between a GPU’s memory chips and its heatsink backplate — degrade over time. Owners of multi-year-old high-end cards consistently report temperature improvements after replacing factory pads with higher-conductivity aftermarket options from Thermal Grizzly or Fujipoly. PCMag’s thermal accessories coverage notes this as one of the highest-return-per-dollar modifications for older professional cards approaching end-of-manufacturer-support lifecycle.
Thermal paste replacement on the GPU die itself follows the same logic as CPU paste maintenance: the factory-applied compound dries and loses conductivity over 3–5 years of sustained use. For a workstation card that’s been running 8–12 hour render days, owners in long-run reviews consistently report 5–15°C improvements after die paste replacement.
The Configuration Decision Framework
Here’s how to think about this as a purchasing decision, not a maintenance exercise:
If you’re configuring a new workstation with a triple-slot GPU: Buy a case with integrated GPU support or budget $20–$40 for a quality adjustable bracket at purchase time. This is a one-time structural insurance policy. Don’t wait for the sag to become visible — by then the PCIe connector has already experienced months of stress cycling.
If you’re running sustained professional loads (rendering, simulation, broadcast encoding) on a consumer-adjacent GPU: The factory cooler is your bottleneck. Start with case fan optimization — it’s reversible, non-invasive, and consistently delivers measurable thermal improvement. If you’re still seeing sustained temperatures above 88–90°C after fan optimization, evaluate the card’s warranty status: if it’s out of warranty, aftermarket cooling is worth the effort. If it’s in-warranty, contact the OEM about cooling solutions before voiding it yourself.
If you manage a multi-seat studio or render farm: Thermal degradation compounds across seats. A render node running at 90°C sustained is throttling; a farm of eight render nodes all running 5% slower than rated is a measurable pipeline cost. The investment calculus for thermal management accessories changes: at $30–$60 per node for fan optimization, you’re buying back render throughput at a fraction of the cost of adding a ninth node. Run the math on your specific pipeline — if a node renders at 95% of rated speed due to thermal throttling, and your farm operates 16 hours a day, that’s meaningful lost capacity per year.
If you’re in the $800–$1,500 entry-level bracket: Prioritize case airflow before anything else. A quality case fan upgrade is the highest-return thermal intervention at any budget level, and it doesn’t require touching the GPU itself. A sag bracket is worth including if your card is a dual- or triple-slot design; single-slot professional cards (certain Quadro T-series configurations) don’t typically require external support.
The Bottom Line
GPU sag brackets and thermal management accessories occupy an easy-to-ignore corner of workstation configuration — they’re not glamorous, they don’t show up in render benchmark comparisons, and they’re rarely discussed when someone is excited about a new card. But Puget Systems’ longstanding guidance on system longevity and their published thermal methodology make the case clearly: the workstation that runs cooler and with less mechanical stress on critical connectors runs longer, runs more reliably, and delivers consistent output quality over a 3–5 year ownership cycle.
For a card that costs $1,500–$3,000, a $20 bracket and $60 in fan upgrades is not an optional luxury. It’s the kind of marginal protection that professional tooling deserves — and the kind of decision that separates a workstation configured for longevity from one configured for the benchmarks.